
Car maintenance can seem overwhelming if you’re new to it, but knowing the essentials makes it manageable and helps keep your vehicle reliable. A simple checklist that covers checking fluids, tire pressure, brakes, and battery can prevent common issues and extend your car’s lifespan.
Understanding these basic tasks empowers you to spot problems early and decide when to seek professional help. This guide will break down key maintenance steps to help you stay on top of your car’s condition without confusion.
Essential Car Maintenance Tools
Having the right tools ensures tasks get done efficiently and safely. Equipment ranges from basic hand tools to safety gear and essential fluids, each serving a specific maintenance purpose.
Basic Toolkit
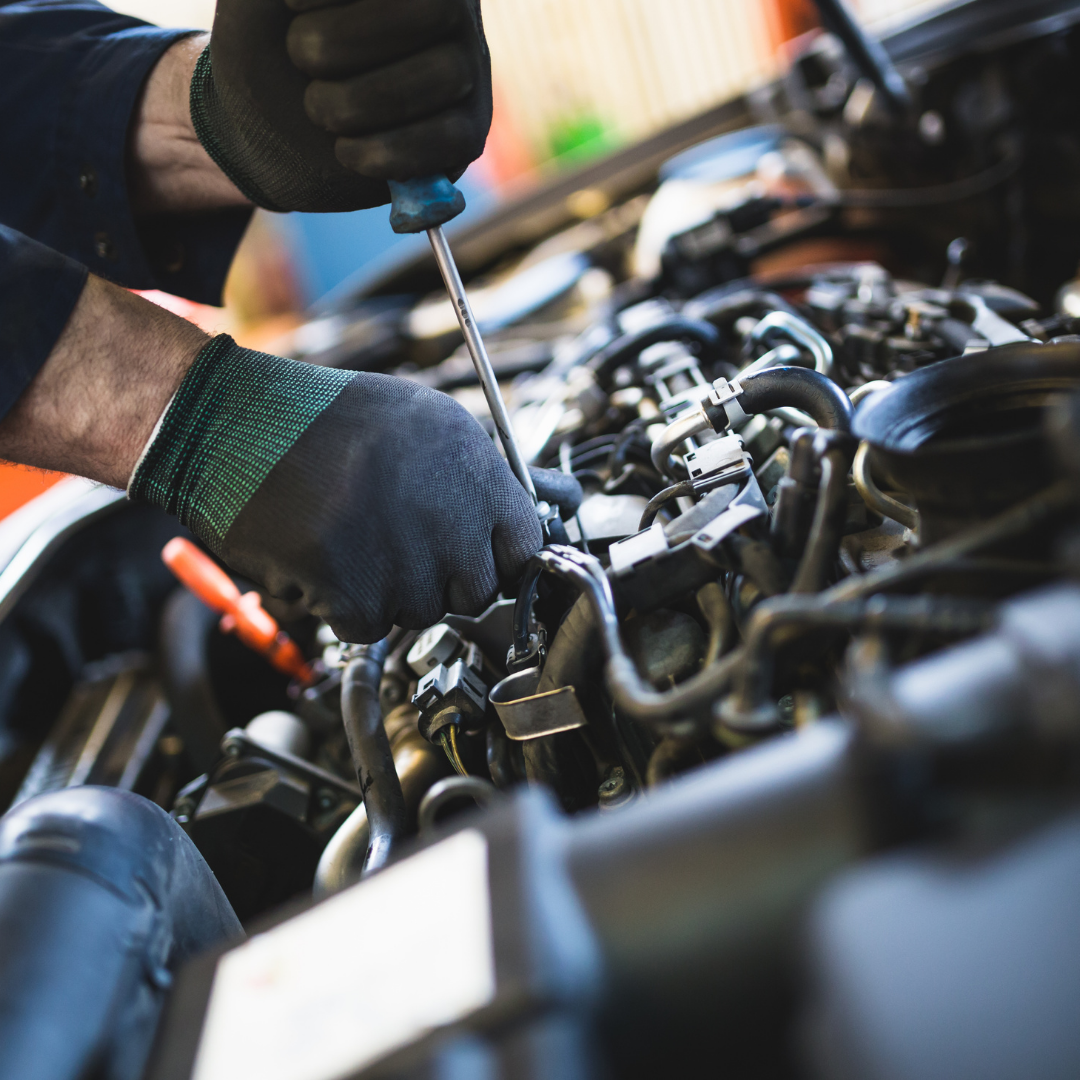
A simple toolkit should include a set of screwdrivers (flathead and Phillips), a socket wrench set, and pliers. These tools allow you to handle common repairs like battery terminal tightening or removing air filters.
A tire pressure gauge is critical for checking tire inflation. Maintaining proper tire pressure improves fuel efficiency and safety.
Include a flashlight for visibility in dark spaces and a funnel for pouring fluids without spills. A wire brush helps clean battery terminals and corroded parts.
Personal Protective Equipment
Safety gear protects you during repairs. Always wear mechanic’s gloves to shield your hands from cuts, burns, and chemicals.
Use safety glasses to protect eyes from debris and splashes. When working under the car or handling fluids, steel-toed shoes reduce injury risk.
Consider a respirator mask if you work with strong chemicals or in dusty environments. High-visibility clothing increases safety when working near roads or in low light.
Recommended Fluids and Supplies
Keep a supply of engine oil matching your car’s specifications for topping off or oil changes. Check the owner’s manual for the correct oil type and viscosity.
Store coolant/antifreeze to maintain engine temperature. Ensure it is the right mix to prevent freezing or overheating.
Brake fluid is essential for stopping performance; replace or top off only with the type recommended for your vehicle.
Have windshield washer fluid available for clear visibility, especially in adverse weather. Include rags and paper towels for cleaning spills or wiping hands.
| Item | Purpose | Notes |
| Engine oil | Lubrication | Use the correct grade only |
| Coolant/Antifreeze | Temperature regulation | Check the mixture ratio |
| Brake fluid | Hydraulic brake function | Use specified type |
| Windshield washer fluid | Clean windshield | Helps visibility |
Routine Engine Checks
Monitoring specific engine components regularly can prevent costly repairs and ensure your vehicle runs smoothly. Focused attention on fluid levels and visible parts helps maintain engine performance.
Engine Oil Level Inspection
Check the engine oil level with the dipstick when the engine is cold and the car is on a flat surface. Remove the dipstick, wipe it clean, reinsert it fully, then remove it again to observe the oil level.
The oil should be between the minimum and maximum marks on the dipstick. Low oil levels can cause engine damage due to insufficient lubrication. Also, check the oil color; dark, gritty oil may need changing.
Top up with the correct oil grade if levels are low, referencing your owner’s manual. Avoid overfilling, as it can harm the engine. Schedule full oil changes as recommended, usually every 3,000 to 7,500 miles.
Coolant Level Monitoring
The coolant reservoir is usually translucent with minimum and maximum level markings. Check the coolant level when the engine is cold to avoid burns from hot coolant or steam.
If the level is below the minimum mark, add the recommended coolant type mixed with water, usually a 50/50 ratio. Avoid opening the radiator cap when the engine is hot, as it can cause pressure-related injuries.
Inspect for leaks, as low coolant can lead to overheating. Color changes or debris in the coolant might indicate contamination or the need for a flush, which is typically advised every 30,000 miles.
Drive Belt Condition Check
Locate the drive belts at the front of the engine. Inspect them visually for cracks, fraying, glazing, or signs of wear. A worn belt can slip or break, affecting components like the alternator or power steering.
Press the belt gently to check tension; it should have minimal give but not be overly tight. Excessive slack can cause slipping or noise. Some vehicles have an automatic belt tensioner, which should also be visually inspected for damage.
Replace belts according to the manufacturer’s schedule, often every 60,000 to 100,000 miles, or sooner if damage is evident. Early detection prevents breakdowns and maintains engine accessory function.
Tire Care Basics
Proper tire care improves safety, fuel efficiency, and tire lifespan. Key aspects include maintaining correct tire pressure, regularly checking tread depth, and ensuring your spare tire is ready for use. Each factor plays a role in optimal vehicle performance.
Tire Pressure Inspection
Maintaining the correct tire pressure is critical. Use a reliable tire pressure gauge to check pressure when tires are cold, ideally before driving. Compare the reading to the manufacturer’s recommended PSI, usually found on a sticker inside the driver’s door or in the owner’s manual.
Underinflated tires increase rolling resistance, lowering fuel efficiency and causing uneven wear. Overinflated tires reduce traction and may lead to a harsher ride. Checking pressure monthly and before long trips ensures tires perform safely and efficiently.
Tread Depth Evaluation
Tread depth affects traction and stopping distance, especially on wet roads. Measure tread depth using a tread depth gauge or the penny test: insert a penny into the tread with Lincoln’s head upside down. If you can see the top of his head, the tread is too shallow, and the tire should be replaced.
The legal minimum tread depth in most states is 2/32 inch, but replacing tires at 4/32 inch is safer for wet conditions. Check tread depth regularly to maintain proper grip and reduce the risk of hydroplaning or blowouts.
Spare Tire Readiness
A spare tire should always be ready to use. Check its pressure monthly, as spares, especially compact ones, often lose air over time. Make sure the spare is not dry-rotted or damaged by inspecting the rubber for cracks and wear.
Know how to access and change your spare tire, including locating necessary tools like the jack and lug wrench. Being prepared reduces downtime in case of a flat tire while driving.
Battery Maintenance Tips
A well-maintained battery improves vehicle reliability and prevents unexpected failures. Regular checks ensure connectors remain secure and corrosion-free, while testing the charge helps identify weakened or failing batteries early.
Visual Battery Inspection
Start with a thorough visual check of the battery casing for cracks, swelling, or leaks. Any damage to the battery case may indicate internal failure and needs immediate attention.
Inspect the battery hold-down to ensure it is secure. A loose battery can vibrate, shortening its lifespan. Also, check for corrosion around the terminals, which appears as a white, ashy deposit.
Look for dirt, grease, or moisture on the battery surface. Cleaning the battery occasionally helps maintain proper electrical contact and prevents issues caused by grime buildup.
Terminal Cleaning Procedures
Corroded terminals impact the battery’s ability to deliver power. Use a mixture of baking soda and water to neutralize the corrosion.
Steps for cleaning terminals:
- Disconnect the negative terminal first to avoid sparks.
- Remove the positive terminal afterward.
- Use a stiff brush to scrub the terminals and cable clamps.
- Rinse with water and dry them thoroughly before reconnecting.
Apply a thin layer of petroleum jelly or terminal protectant spray after cleaning. This slows down future corrosion and improves conductivity.
Testing Battery Charge
Regular testing confirms battery health and capacity. Use a multimeter to check the voltage; a fully charged battery should read about 12.6 volts when the engine is off.
To test the battery under load, a battery load tester can be used. This simulates real-world conditions and reveals if the battery can maintain voltage.
If the voltage drops below 12.4 volts or the battery fails the load test, it likely needs charging or replacement. Frequent low voltage readings suggest the alternator or charging system may be faulty, requiring further inspection.
Brake System Inspection
Inspecting your brake system includes checking the condition of the brake pads and verifying the brake fluid level. These two factors directly affect your vehicle’s stopping power and overall safety.
Brake Pad Wear Assessment
Brake pads wear down with use and need regular inspection. Look for thinning pads, which should be less than 3mm thick, to consider replacing. Excessive squeaking or grinding noises while braking can indicate worn pads.
To inspect, remove the wheel or check through the wheel spokes if possible. Examine the pad surface for cracks, glazing, or uneven wear, which suggest poor braking performance. Uneven wear often signals a problem with brake calipers.
Keep track of the replacement interval in your vehicle manual. Worn pads reduce braking efficiency and can damage rotors, leading to more costly repairs.
Brake Fluid Level Check
Brake fluid transmits the force from the brake pedal to the brake mechanism. Check the fluid reservoir under the hood, usually marked with “MIN” and “MAX” lines.
Ensure the fluid level stays between these marks. Low fluid can signal leaks or worn pads. Use only the type of brake fluid specified in the owner’s manual, commonly DOT 3 or DOT 4.
Brake fluid degrades over time, absorbing moisture that reduces its boiling point. Replace fluid every 2 years or as recommended by the manufacturer to maintain system responsiveness and prevent corrosion.
Fluid Level Checkpoints
Maintaining proper fluid levels is essential for your vehicle’s safety and performance. It involves checking specific fluids regularly and refilling or inspecting them as needed to prevent damage.
Windshield Washer Fluid Refill
Windshield washer fluid keeps your windshield clean and improves visibility. Check the reservoir under the hood, usually marked with a windshield/water symbol. Use a funnel to add washer fluid when the level is low.
Avoid using plain water as it can freeze or leave residue. Special washer fluids contain antifreeze agents and cleaning additives that protect the system. Top off the fluid before winter or long trips for safe driving in varying conditions.
Check the fluid monthly or more often in dusty or wet environments. Running the reservoir dry can damage the washer pump.
Transmission Fluid Inspection
Transmission fluid lubricates moving parts, helping with smooth gear shifts and preventing wear. Locate the transmission dipstick; it’s often labeled and found near the engine. Check fluid levels only when the engine is warm and running, following the vehicle’s manual.
Healthy fluid is reddish and clear. Dark, burnt-smelling fluid signals a need for replacement. Low or contaminated transmission fluid can cause shifting problems and mechanical damage.
If low, add the correct manufacturer-recommended fluid gradually. Avoid overfilling, which can cause leaks or pressure issues.
Power Steering Fluid Check
Power steering fluid ensures easy steering control by lubricating the steering system. Find the power steering fluid reservoir under the hood, typically labeled or color-coded. Check the fluid level using the dipstick or reservoir markings.
Fluid should be clear or light amber. Dark or cloudy fluid indicates contamination or wear. Low fluid levels often cause steering difficulty or noises.
Refill with the specific type listed in the owner’s manual. Regular checks help avoid power steering pump damage and maintain safe, responsive handling.
Lights, Signals, and Electrical Systems
Maintaining your vehicle’s lighting and electrical components is essential for safety and legal compliance. Regular checks help avoid accidents caused by poor visibility or miscommunication with other drivers. It also prevents unexpected vehicle breakdowns related to electrical faults.
Headlight Function Test
Headlights must illuminate clearly at night and during poor weather conditions. Test both low and high beams by turning them on individually, ensuring each bulb is bright and free of flicker. Replace dim or burned-out bulbs promptly to maintain optimal road visibility.
Check the headlight lens for dirt or cloudiness, which can reduce light output. Clean the lenses with appropriate cleaners or replace them if they are severely damaged. Also, inspect headlight alignment to avoid blinding other drivers or reducing your own view.
Indicator and Brake Light Check
Indicators signal your intentions to turn or change lanes and must blink consistently. Activate each indicator while observing if the light flashes at a steady pace. A rapid blink usually indicates a faulty bulb that needs replacement.
Brake lights warn drivers behind you when you slow down. Press the brake pedal while another person observes the lights or use reflective surfaces to confirm that both rear brake lights illuminate brightly. Faulty brake lights increase the risk of rear-end collisions and can lead to fines.
Dashboard Warning Light Awareness
Dashboard warning lights provide critical information about your vehicle’s electrical and mechanical status. Familiarize yourself with common symbols like the battery, oil pressure, and engine temperature lights. Ignoring these lights can cause further damage or unsafe driving conditions.
If a warning light stays on or flashes, consult your vehicle’s manual immediately for specific guidance. Some lights indicate minor issues, while others require urgent attention or professional diagnostics. Routine checks help maintain the electrical system’s integrity and prevent costly repairs.
Interior and Exterior Upkeep
Maintaining both the inside and outside of a car is essential to ensure comfort, safety, and appearance. Regular checks and cleaning prevent damage and extend the vehicle’s lifespan.
Wiper Blade Condition
Wiper blades should be inspected every six months or sooner if you notice streaking or noise during use. Look for cracks, splits, or stiffness in the rubber, which indicate wear.
Replacing blades typically costs between $15 and $30 per set and can be done quickly without tools. Properly functioning wipers improve visibility during rain or snow, directly affecting driving safety.
It’s best to replace wipers annually or in climates with frequent precipitation. Clean the blades periodically with a damp cloth to remove dirt and prevent premature wear.
Regular Interior Cleaning
Vacuum carpets and seats weekly to remove dust and debris that can wear materials down over time. Wipe down dashboards and console surfaces with a microfiber cloth to prevent dust buildup.
Use appropriate cleaners for different materials: leather conditioner for leather seats, and fabric cleaner for cloth seats. Avoid harsh chemicals that can discolor or damage interior components.
Clean windows inside to reduce glare and improve visibility. Remove trash and clutter regularly to maintain a tidy, comfortable environment.
Exterior Paint Protection
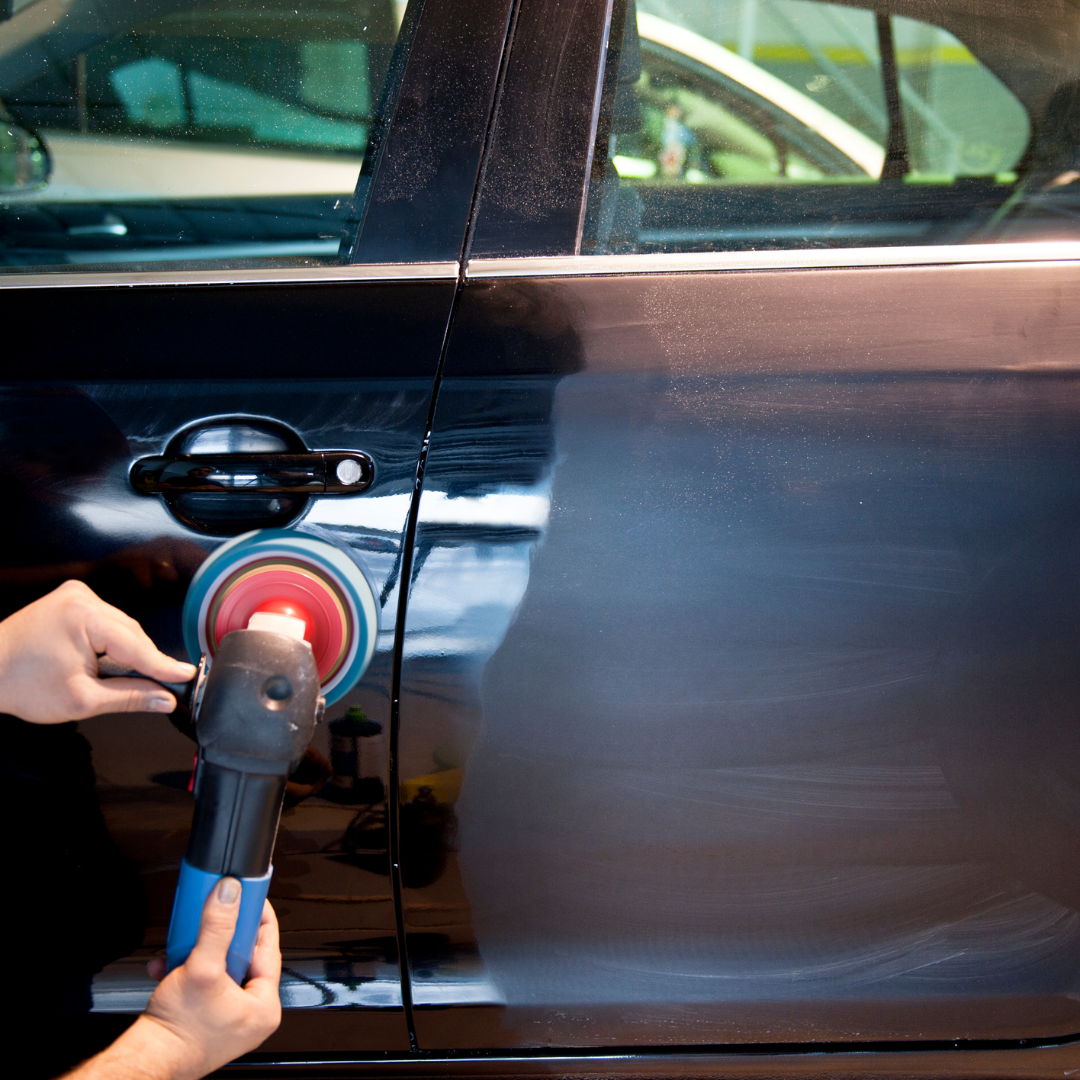
Washing your car every two weeks helps remove dirt, bird droppings, and road salt, which can damage paint. Use a gentle car shampoo and a microfiber mitt to avoid scratches.
Apply wax or sealant every three to six months to create a protective layer against UV rays and contaminants. This maintains the paint’s shine and prevents fading.
Pay special attention to areas prone to chips, such as bumpers and door edges. Touch-up paint can prevent rust from developing in damaged spots.
Seasonal Maintenance Considerations
Proper seasonal maintenance helps ensure your car runs reliably and safely throughout the year. Different weather conditions require specific preparations for optimal vehicle performance and protection.
Winter Preparation Steps
Focus on your battery health, as cold temperatures reduce its efficiency. Test the battery and replace it if it’s older than three years. Use winter-grade oil if recommended by your vehicle’s manual.
Check tire tread depth and switch to winter tires for better traction on snow and ice. Keep windshield washer fluid topped with freeze-resistant formula. Inspect the heating system and defrosters to maintain visibility and comfort.
Replace worn wiper blades and ensure the coolant mixture prevents freezing. Carry an emergency kit with essentials like a shovel, ice scraper, jumper cables, and warm blankets in case of breakdowns during winter trips.
Summer Maintenance Tips
Heat affects engine cooling and tire pressure. Check coolant levels and inspect radiator hoses for cracks or leaks to avoid overheating. Verify tire pressure regularly, as heat causes air to expand and may lead to blowouts.
Use air conditioning properly; recharge the refrigerant if cooling performance weakens. Replace the cabin air filter to keep the AC efficient and the interior air clean.
Inspect belts for signs of wear due to heat exposure, such as cracks or fraying. Regularly check brake performance, as hot weather can affect braking efficiency and increase wear on components.
Long-Term Maintenance Planning
Keeping track of when to perform maintenance and recording what has been done are essential for preventing costly repairs. Planning maintenance over the long term helps maintain safety, reliability, and vehicle value.
Service Interval Tracking
Service intervals vary by car model and can include oil changes, tire rotations, brake inspections, and fluid replacements. Consult your owner’s manual to find the recommended mileage or time between services. Use a calendar or digital app to set reminders for each task.
Create a simple table to track your intervals:
| Service Type | Interval Mileage | Last Service Date | Next Service Due |
| Oil Change | 5,000 miles | 01/10/2026 | 06/10/2026 |
| Tire Rotation | 7,500 miles | 12/01/2025 | 07/15/2026 |
Consistent tracking ensures critical tasks aren’t missed. Adjust intervals based on driving conditions or manufacturer updates.
Record Keeping for Maintenance
Maintain a detailed log of all performed maintenance to avoid duplication and help with troubleshooting. Records should include date, service type, mileage, and service provider.
Use a notebook, spreadsheet, or car maintenance app to store this data. Keep receipts and notes about parts replaced or inspections done.
Example record entry:
- 01/10/2026: Oil change, 5,000 miles, synthetic oil, ABC Auto Shop
- 12/01/2025: Tire rotation, 4 tires rotated, XYZ Service Center
Accurate records improve vehicle resale value and provide proof for warranty claims. They also help mechanics understand your car’s history quickly.