
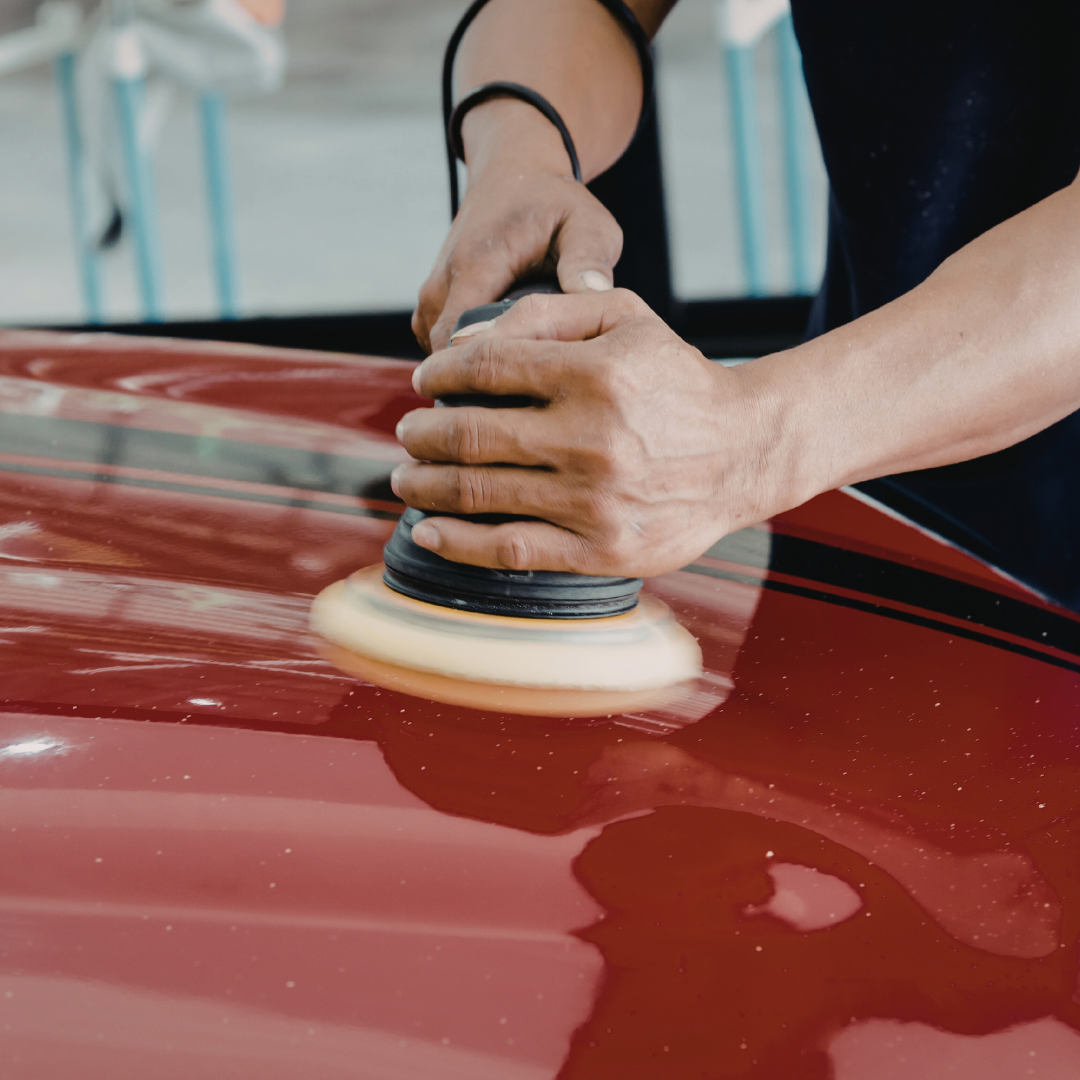
Car detailing can seem overwhelming at first, but with the right approach, it becomes manageable and even rewarding. The key to successful beginner car detailing is using simple, effective techniques and the right basic tools to clean and protect your vehicle properly.
Focusing on thorough cleaning, careful surface protection, and regular maintenance can help you achieve great results without expensive products or professional help. Understanding these core steps makes the process straightforward and helps preserve your car’s appearance longer.
Understanding Car Detailing
Car detailing involves thorough cleaning and restoration, focusing on both the vehicle’s interior and exterior. It requires specific processes, tools, and knowledge to effectively maintain and protect a car’s condition.
What is Car Detailing?
Car detailing is a meticulous cleaning, polishing, and protecting of a vehicle’s surfaces. Unlike a basic car wash, detailing removes dirt, grime, and contaminants from hard-to-reach areas.
The process covers exterior tasks like washing, claying, polishing, and waxing. Interior detailing includes vacuuming, steam cleaning upholstery, conditioning leather, and cleaning carpets and dashboards. Detailing restores the car’s appearance, often improving resale value.
Benefits of Regular Detailing
Regular detailing protects a vehicle’s paint, preventing oxidation and fading caused by UV exposure. It also removes harmful substances like road salt and brake dust that cause corrosion.
Interior detailing prolongs the life of upholstery and prevents staining or cracking. It improves air quality by removing allergens and bacteria. Regular maintenance reduces the need for costly repairs and preserves the car’s value over time.
Essential Car Detailing Terminology
| Term | Meaning |
| Claying | Using a clay bar to remove bonded surface contaminants |
| Polishing | Removing minor scratches and swirl marks |
| Waxing | Applying wax for paint protection and shine |
| Sealant | Synthetic product that protects paint longer than wax |
| Vacuuming | Removing dirt and debris from the interior |
Understanding these basic terms helps in selecting the right products and methods for effective detailing.
Preparing Your Car for Detailing
Before starting, ensure you have the necessary items ready, establish a clean working area, and carefully assess your car’s condition. These steps help make the detailing process efficient and effective.
Gathering the Right Supplies
Start with essential cleaning products, including a pH-balanced car shampoo, microfiber wash mitts, and drying towels. Avoid household soaps as they can strip wax and damage paint.
You will also need detailing brushes for wheels and crevices, clay bars to remove surface contaminants, and polishing compounds or wax for finishing. Organize these items within easy reach to minimize interruptions.
Don’t forget protective gloves and buckets—one for soap water and another for rinsing. Using grit guards in buckets will help keep dirt off your mitts and avoid scratching.
Creating a Clean Workspace
Choose a shaded, flat area like a driveway or garage to prevent water spots and ensure safety. Avoid direct sunlight, which can cause products to dry too fast.
Keep your workspace clear of debris, tools, and other obstacles. This reduces hazards and makes movement around the vehicle easier.
Set up a table or cart to hold supplies. Good lighting is crucial, so consider portable LED lamps if natural light is limited. Ensure you have access to water and electricity if needed.
Inspecting Your Vehicle
Walk around the car to identify problem areas like deep scratches, rust spots, or heavy dirt buildup. Take note of these for targeted cleaning or professional attention.
Check tires, trim, and glass surfaces for damage or stains that might need specialized products. Understanding the car’s condition helps choose appropriate techniques and materials.
Photographing the vehicle before detailing can serve as a reference to assess progress and results after the process is complete.
Exterior Cleaning Basics
Effective exterior cleaning depends on key steps: using proper washing methods, selecting a gentle but effective shampoo, and drying the car to prevent paint damage. Each element plays a specific role in preserving your vehicle’s finish and appearance.
Proper Washing Techniques
Start by rinsing the car thoroughly to remove loose dirt. Use a two-bucket method—one with soapy water, one with clean water for rinsing your wash mitt. This reduces the chance of scratching the paint.
Wash the car from top to bottom since lower areas are usually dirtier. Use a microfiber wash mitt to protect the surface. Avoid circular motions; instead, use straight, overlapping strokes.
Don’t skip rinsing off soap frequently to prevent drying spots. Work slowly and in the shade if possible, as direct sunlight can cause soap to dry too fast and leave streaks.
Choosing the Right Car Shampoo
Select a pH-balanced car shampoo designed specifically for automotive paint. These shampoos effectively remove grime without stripping wax or sealants.
Avoid household detergents like dish soap—it is too harsh and can dry out the paint. Look for shampoos labeled biodegradable for better environmental safety.
Pay attention to concentrated formulas. They allow you to adjust the strength as needed and often provide better cleaning power with less product waste.
Drying Without Damaging Paint
After washing, avoid air drying as water spots can form quickly. Use a clean, soft microfiber drying towel or a blower designed for cars.
Pat or gently drag the towel across the surface instead of rubbing hard, which can cause micro-scratches. Change or rinse towels regularly to avoid trapping dirt.
Work in small sections and dry windows and mirrors last. If water spots still form, consider using a quick detailer spray as a rinse aid before drying.
Mastering Interior Detailing
Effective interior detailing requires thorough cleaning methods tailored to each part of the cabin. This includes removing debris, treating different materials properly, and restoring surfaces without damage or residue.
Vacuuming and Dust Removal
Start with a high-powered vacuum equipped with various nozzles. Focus on tight spaces like under seats, between seat cushions, and inside air vents. Use a soft brush attachment for delicate surfaces to avoid scratching.
Carbon fiber or plastic trims attract dust easily. Use compressed air or a microfiber cloth to dislodge dust from these areas. Pay special attention to floor mats—shake or beat them outside before vacuuming.
Dust buildup can damage electronics or cause allergens. Vacuuming prevents this by removing loose dirt and pet hair thoroughly.
Cleaning Seats and Upholstery
Identify the material before cleaning: leather, fabric, or vinyl requires different treatments.
For leather seats, use a pH-balanced cleaner and a soft brush to gently lift dirt. Wipe with a damp microfiber cloth and apply a leather conditioner to prevent drying or cracking.
Fabric seats benefit from foam or spray upholstery cleaners. Work in small sections, scrubbing lightly and blotting excess moisture. Avoid soaking; use a wet-dry vacuum if possible.
Vinyl seats clean well with all-purpose cleaner and a microfiber cloth. Avoid harsh chemicals that cause discoloration or brittleness.
Detailing Dashboard and Trim
Dashboard materials vary: textured plastic, vinyl, or wood trim. Use a dedicated interior cleaner, applied to a microfiber cloth instead of directly on surfaces.
Clean air vents with a small detailing brush to remove dust from narrow slats. Use cotton swabs for hard-to-reach corners.
Avoid silicone-based products on the dashboard to prevent slippery surfaces and dust attraction. A matte finish protectant helps maintain appearance without shine.
For trim pieces, use a gentle cleaner designed for the specific material to avoid fading or cracking over time.
Protecting Exterior Surfaces
Maintaining a vehicle’s exterior involves steps that shield paint, tires, and glass from damage and wear. Proper application of protective products and thorough cleaning techniquesenhancese longevity and appearance.
Applying Wax or Sealant
Wax and sealants create a protective layer over the paint to guard against UV rays, dirt, and moisture. Use a high-quality wax or synthetic sealant, applying it in thin, even coats with a foam applicator. Work in small sections to avoid uneven coverage.
After applying, allow the product to haze or set according to instructions, usually 5-15 minutes. Buff gently with a microfiber cloth in circular motions to achieve a smooth, glossy finish. Reapplying every 2-3 months helps maintain protection and shine.
Choose wax for deeper gloss and sealant for longer-lasting protection. Clean and dry the car thoroughly before application to prevent trapping dirt under the protective layer.
Tire and Wheel Care
Tires and wheels see constant exposure to brake dust, road grime, and UV rays. Regular cleaning prevents damage and maintains a fresh look. Use a dedicated wheel cleaner compatible with your wheel type to avoid etching or discoloration.
Scrub tires with a stiff brush and soapy water to remove dirt and old dressing. Rinse thoroughly. Apply an appropriate tire dressing to prevent cracking and fading; opt for water-based formulas if you prefer a natural matte finish rather than shiny.
Perform wheel and tire cleaning at least once a month. Inspect tires for signs of damage or uneven wear while detailing.
Cleaning Windows and Mirrors
Windows and mirrors require streak-free cleaning to ensure clear visibility and safe driving. Use an automotive glass cleaner and a lint-free microfiber cloth to prevent scratches and residue build-up.
Spray cleaner directly on the cloth, not the glass, to avoid overspray on paint or trim. Use vertical and horizontal wiping motions to remove dirt, oil, and water spots effectively.
Pay attention to corners and edges where grime collects. Avoid household glass cleaners containing ammonia, as they can damage tint or rubber seals. Regular cleaning improves both aesthetics and safety.
Addressing Common Problem Areas
Certain problem areas require targeted approaches to maintain a car’s appearance and hygiene. Effective stain removal, water spot treatment, and pet hair management can significantly improve your detailing results.
Removing Stains and Odors
For stains on fabric or upholstery, act quickly. Use a microfiber cloth to blot spills rather than rubbing, which can spread the stain. Apply a dedicated upholstery cleaner or a mild mixture of water and vinegar to break down tough stains.
Odors often come from dirt trapped in carpets or under seats. Use a carpet deodorizer or sprinkle baking soda, let it sit for 15 minutes, then vacuum thoroughly. For persistent smells, a fabric sanitizer spray or ozone treatment can be effective.
Treating Water Spots
Water spots form when minerals left by evaporated water dry on painted surfaces. Use a water spot remover solution designed for automotive paint to avoid damage. Apply it with a soft cloth, rubbing gently in circular motions.
For mild spots, a mixture of white vinegar and distilled water can help dissolve minerals. Rinse the area well afterward. Regular waxing or using a paint sealant creates a protective barrier against future water spots.
Dealing with Pet Hair
Pet hair sticks to upholstery and carpet fibers, making removal challenging. Use a rubber glove or a damp sponge, rubbing in circular motions to gather hair into clumps for vacuuming.
Specialized pet hair removers or lint rollers are effective for stubborn areas. Frequent vacuuming with a vacuum designed for pet hair prevents buildup and maintains cleanliness.
Safety Considerations for Beginners
Proper safety steps reduce risks during detailing. Use protective gear and handle products carefully to avoid injury or damage.
Handling Chemicals Responsibly
Detailing chemicals like degreasers, solvents, and cleaners can be hazardous. Always read labels for directions and warnings before use. Avoid mixing chemicals; it can create dangerous fumes or reactions.
Store chemicals in original containers, tightly sealed and away from heat sources or direct sunlight. Use them in well-ventilated areas to reduce inhalation risks. If spills occur, clean immediately with appropriate materials.
Wear gloves designed for chemical resistance to prevent skin exposure. Dispose of empty or unused chemicals according to local regulations to protect the environment.
Protecting Your Skin and Eyes
Detailing products can irritate or burn skin and eyes. Always wear safety goggles or glasses to shield your eyes from splashes, especially when spraying or rinsing.
Use gloves made of nitrile or latex to avoid allergic reactions and skin damage. Long sleeves can provide extra protection from splashes.
If chemicals contact skin or eyes, rinse immediately with plenty of water. Seek medical help if irritation or pain persists. Avoid touching your face during detailing to prevent transferring chemicals.
Maintaining Car Detailing Results
Keeping your car looking its best after detailing requires consistent effort and proper care. Key factors include setting a reasonable cleaning routine and ensuring your detailing products remain in good condition.
Establishing a Detailing Schedule
Create a realistic schedule based on your car’s usage and environment. For daily drivers, a basic wash every two weeks is sufficient to remove dirt and prevent contaminants from settling. Waxing should be done every three months to protect the paint and maintain shine.
Pay attention to specific needs, such as pet hair removal or interior vacuuming after heavy use. Use a simple checklist to track your washes, waxes, and interior cleanings. Adjust your routine if you notice dirt buildup or fading finishes between scheduled sessions.
Storing Supplies Properly
Store detailing products in a cool, dry place away from direct sunlight to maintain their effectiveness. Avoid extreme temperatures, as heat can degrade chemicals and cold can cause freezing or separation.
Keep bottles tightly sealed and use organizers to prevent spills or accidental mixing. Label everything clearly. Check expiration dates on products like waxes, polishes, and cleaners. Proper storage extends the life of your supplies and ensures consistent results whenever you detail your car.
Common Mistakes to Avoid
One frequent error in car detailing is using household cleaners instead of products designed for cars. These can damage paint, leather, or interior surfaces. Always use specialized detailing products for the best results.
Rushing through the washing process often leads to scratches and swirl marks. Use a two-bucket method—one with soap, one with clean water—to avoid grit scratching your paint. This simple step protects your car’s finish.
Many skip drying the car completely after washing. Leaving water spots can cause mineral deposits that stain the paint. Use a soft microfiber towel to dry surfaces thoroughly.
Overlooking the interior is another mistake. Dust and crumbs can embed in fabric or cracks, making deep cleaning much harder later. Regular vacuuming and wiping down surfaces saves time in the long run.
Applying wax or sealant over dirty surfaces traps dirt and reduces shine. Clean the car thoroughly before applying any protective coatings. This ensures better adhesion and lasting protection.
| Common Mistake | Why It’s a Problem | Easy Fix |
| Using the wrong cleaners | Potential damage to surfaces | Use car-specific products |
| Skipping dry step | Water spots and stains | Dry with microfiber towels |
| Not cleaning the interior | Dirt buildup makes cleaning harder | Vacuum and wipe regularly |
| Rushing washing | Scratches and swirl marks | Use the two-bucket wash method |
| Wax on dirty paint | Poor bond and dull finish | Clean thoroughly before waxing |